Tools
Supplies
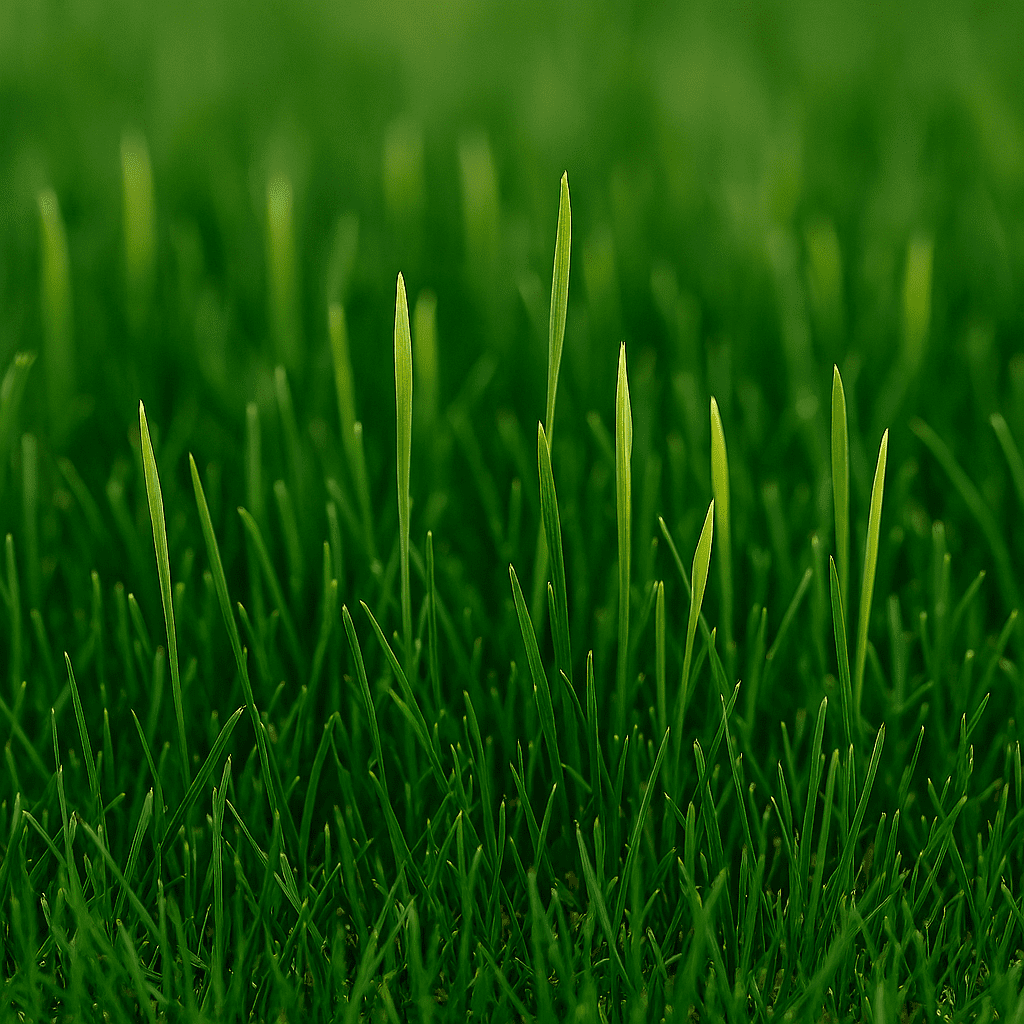
Some Thatch Can Be Beneficial
Thatch is a built-up layer of dead grass shoots, stems, roots, and debris that builds up between the blades of grass and the soil. A half inch of thatch is beneficial to your lawn, giving it a protective layer against temperature extremes. Thatch helps keep moisture in the soil, and it also provides some cushioning.
Too Much Thatch Can Cause Problems
When the thatch layer exceeds ¾ of an inch, it starts to cause problems for your lawn. Too much thatch prevents water, nutrients, and air from reaching the soil, leading to a weak and unhealthy lawn. Decaying grass can also lead to increased pest and disease problems.
Dethatching Is Beneficial For Lawns
Dethatching is the process of removing excess thatch to help restore your lawn’s health and encourage growth. If your lawn feels spongy underfoot or if it shows signs of thinning despite regular care, it’s time to dethatch your lawn.
Reasons to Dethatch Your Lawn
- Dethatching removes harmful buildup of dead grass and plant material.
- It allows water, nutrients, and air to reach the soil, which is beneficial for growth.
- Removing excess thatch helps reduce the chance of pest and disease problems.
Essential Tools for Dethatching Your Lawn
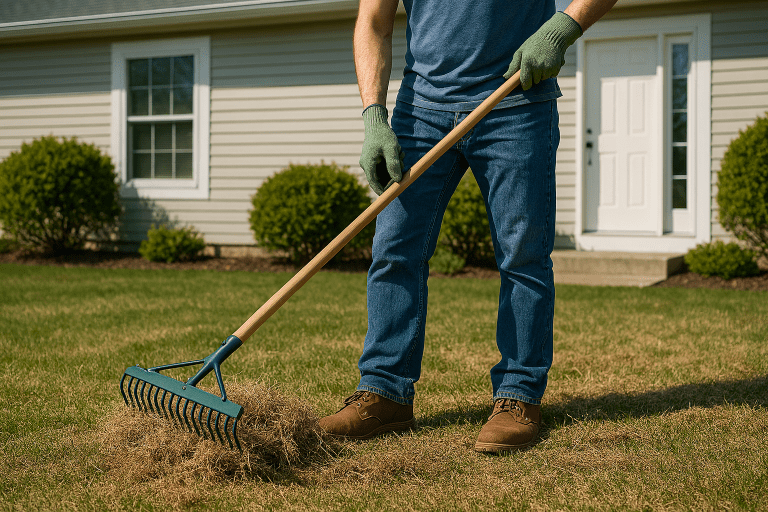
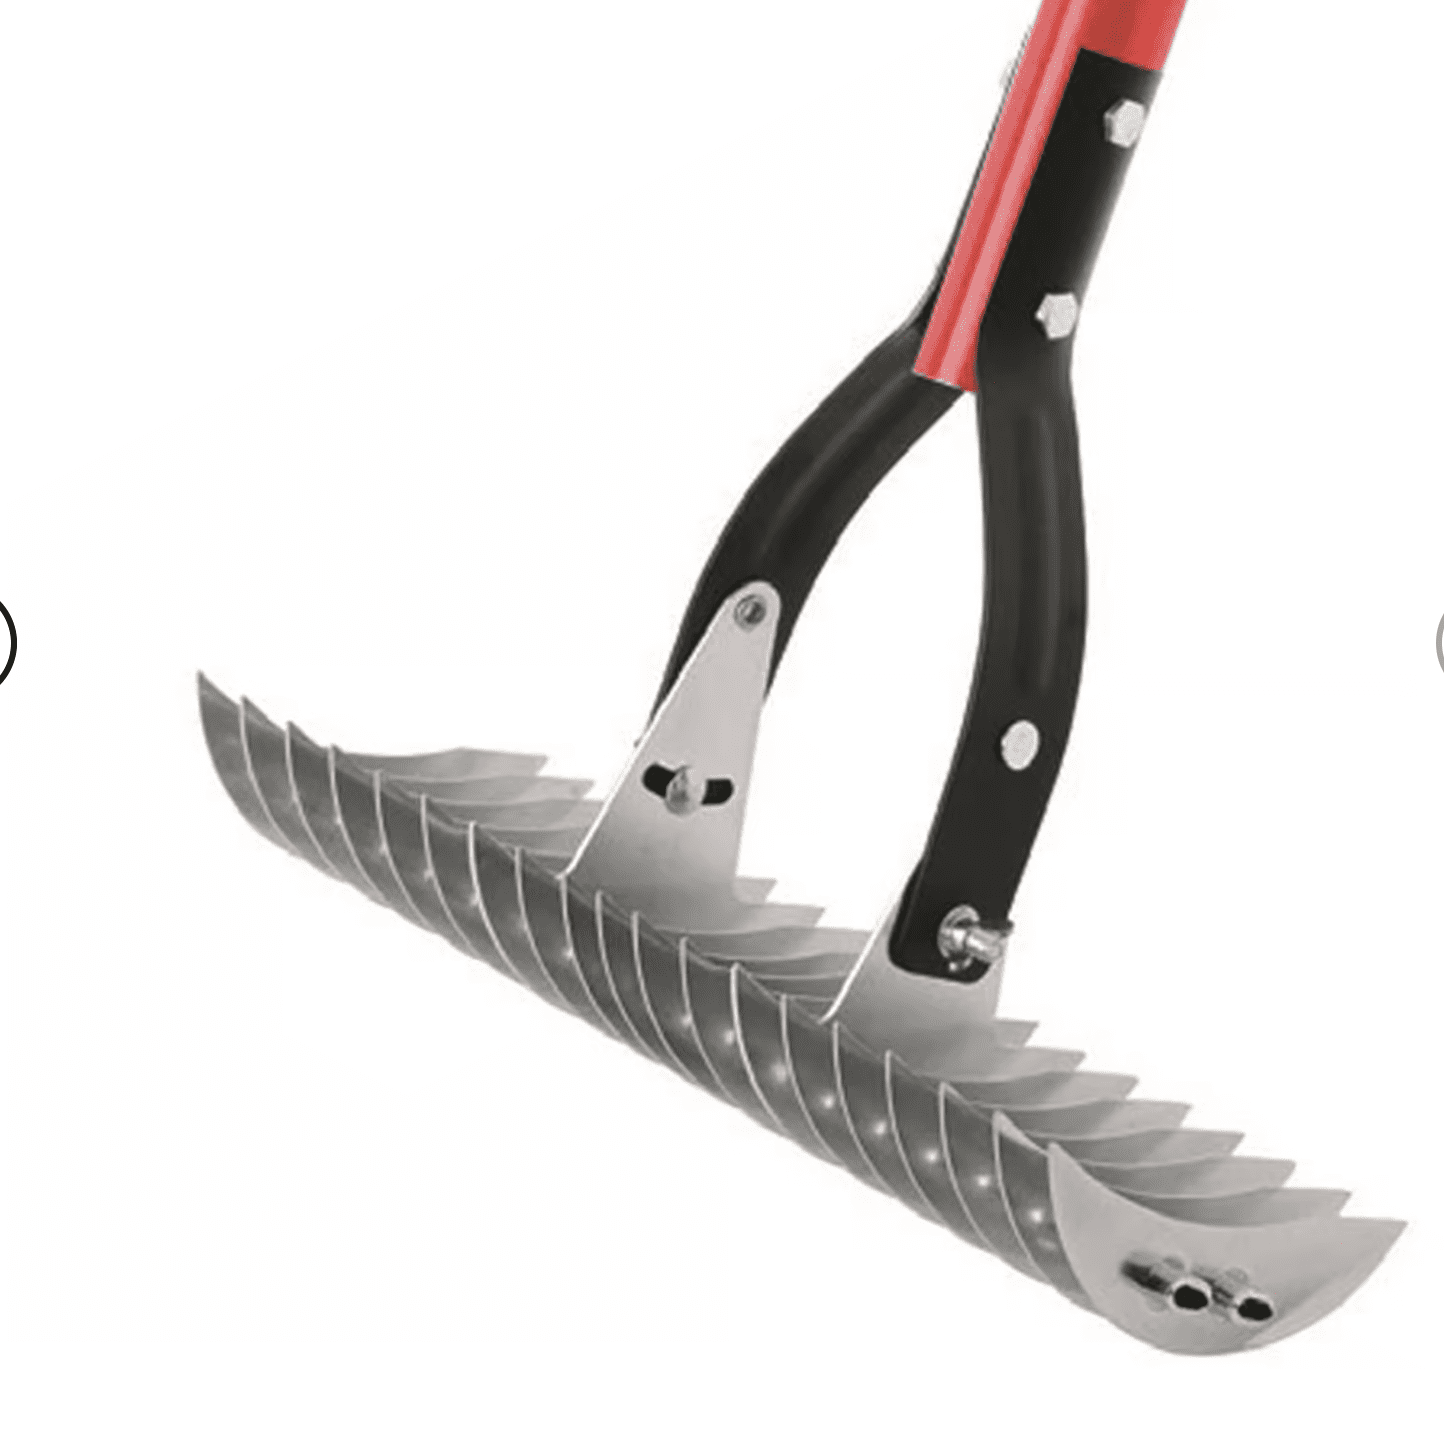
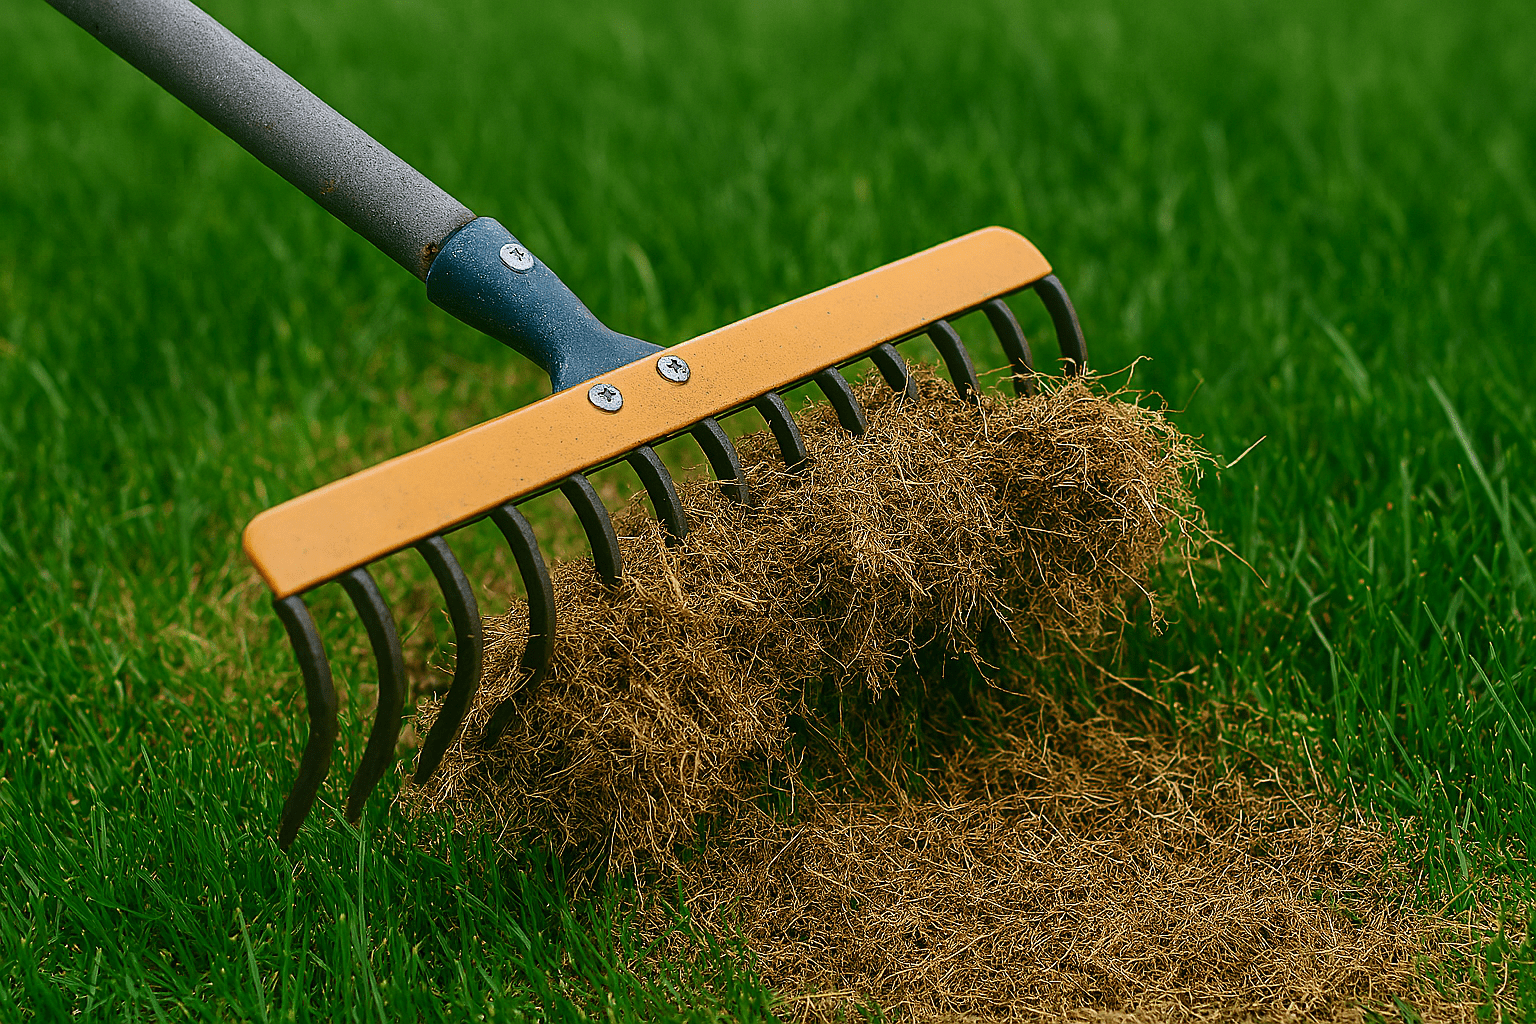
- Dethatching Rake – This type of rake has sharp tines that clear away dead gras and also help break up crusted soil and dirt clumps.
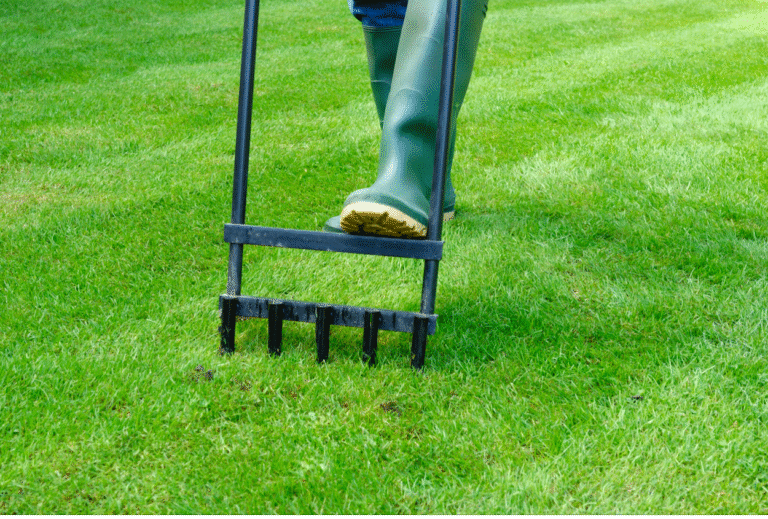
- Manual or Power Dethatcher (vertical mower/scarifier/power rake) – This type of equipment can help you move faster to cover more ground in bigger yards.
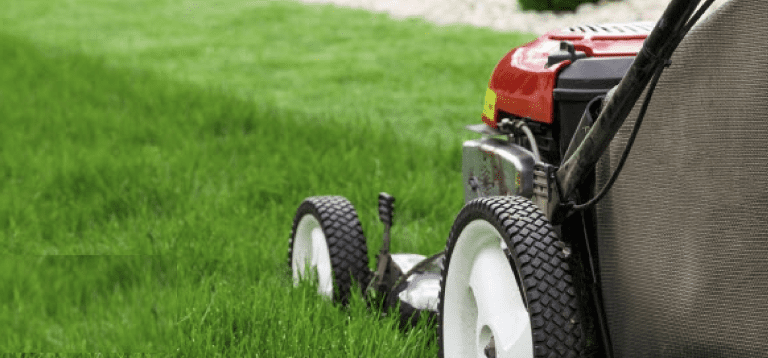
- Lawn Mower – Use your mower before and after the dethatching process.
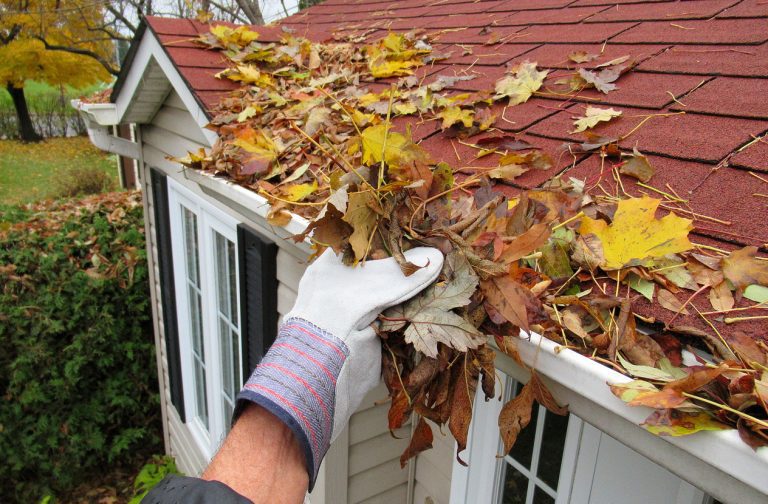
- Leaf Blower – Handy to help with cleanup after dethatching.
- Grass Seed and Fertilizer – This is optional in case you want to overseed after dethatching.
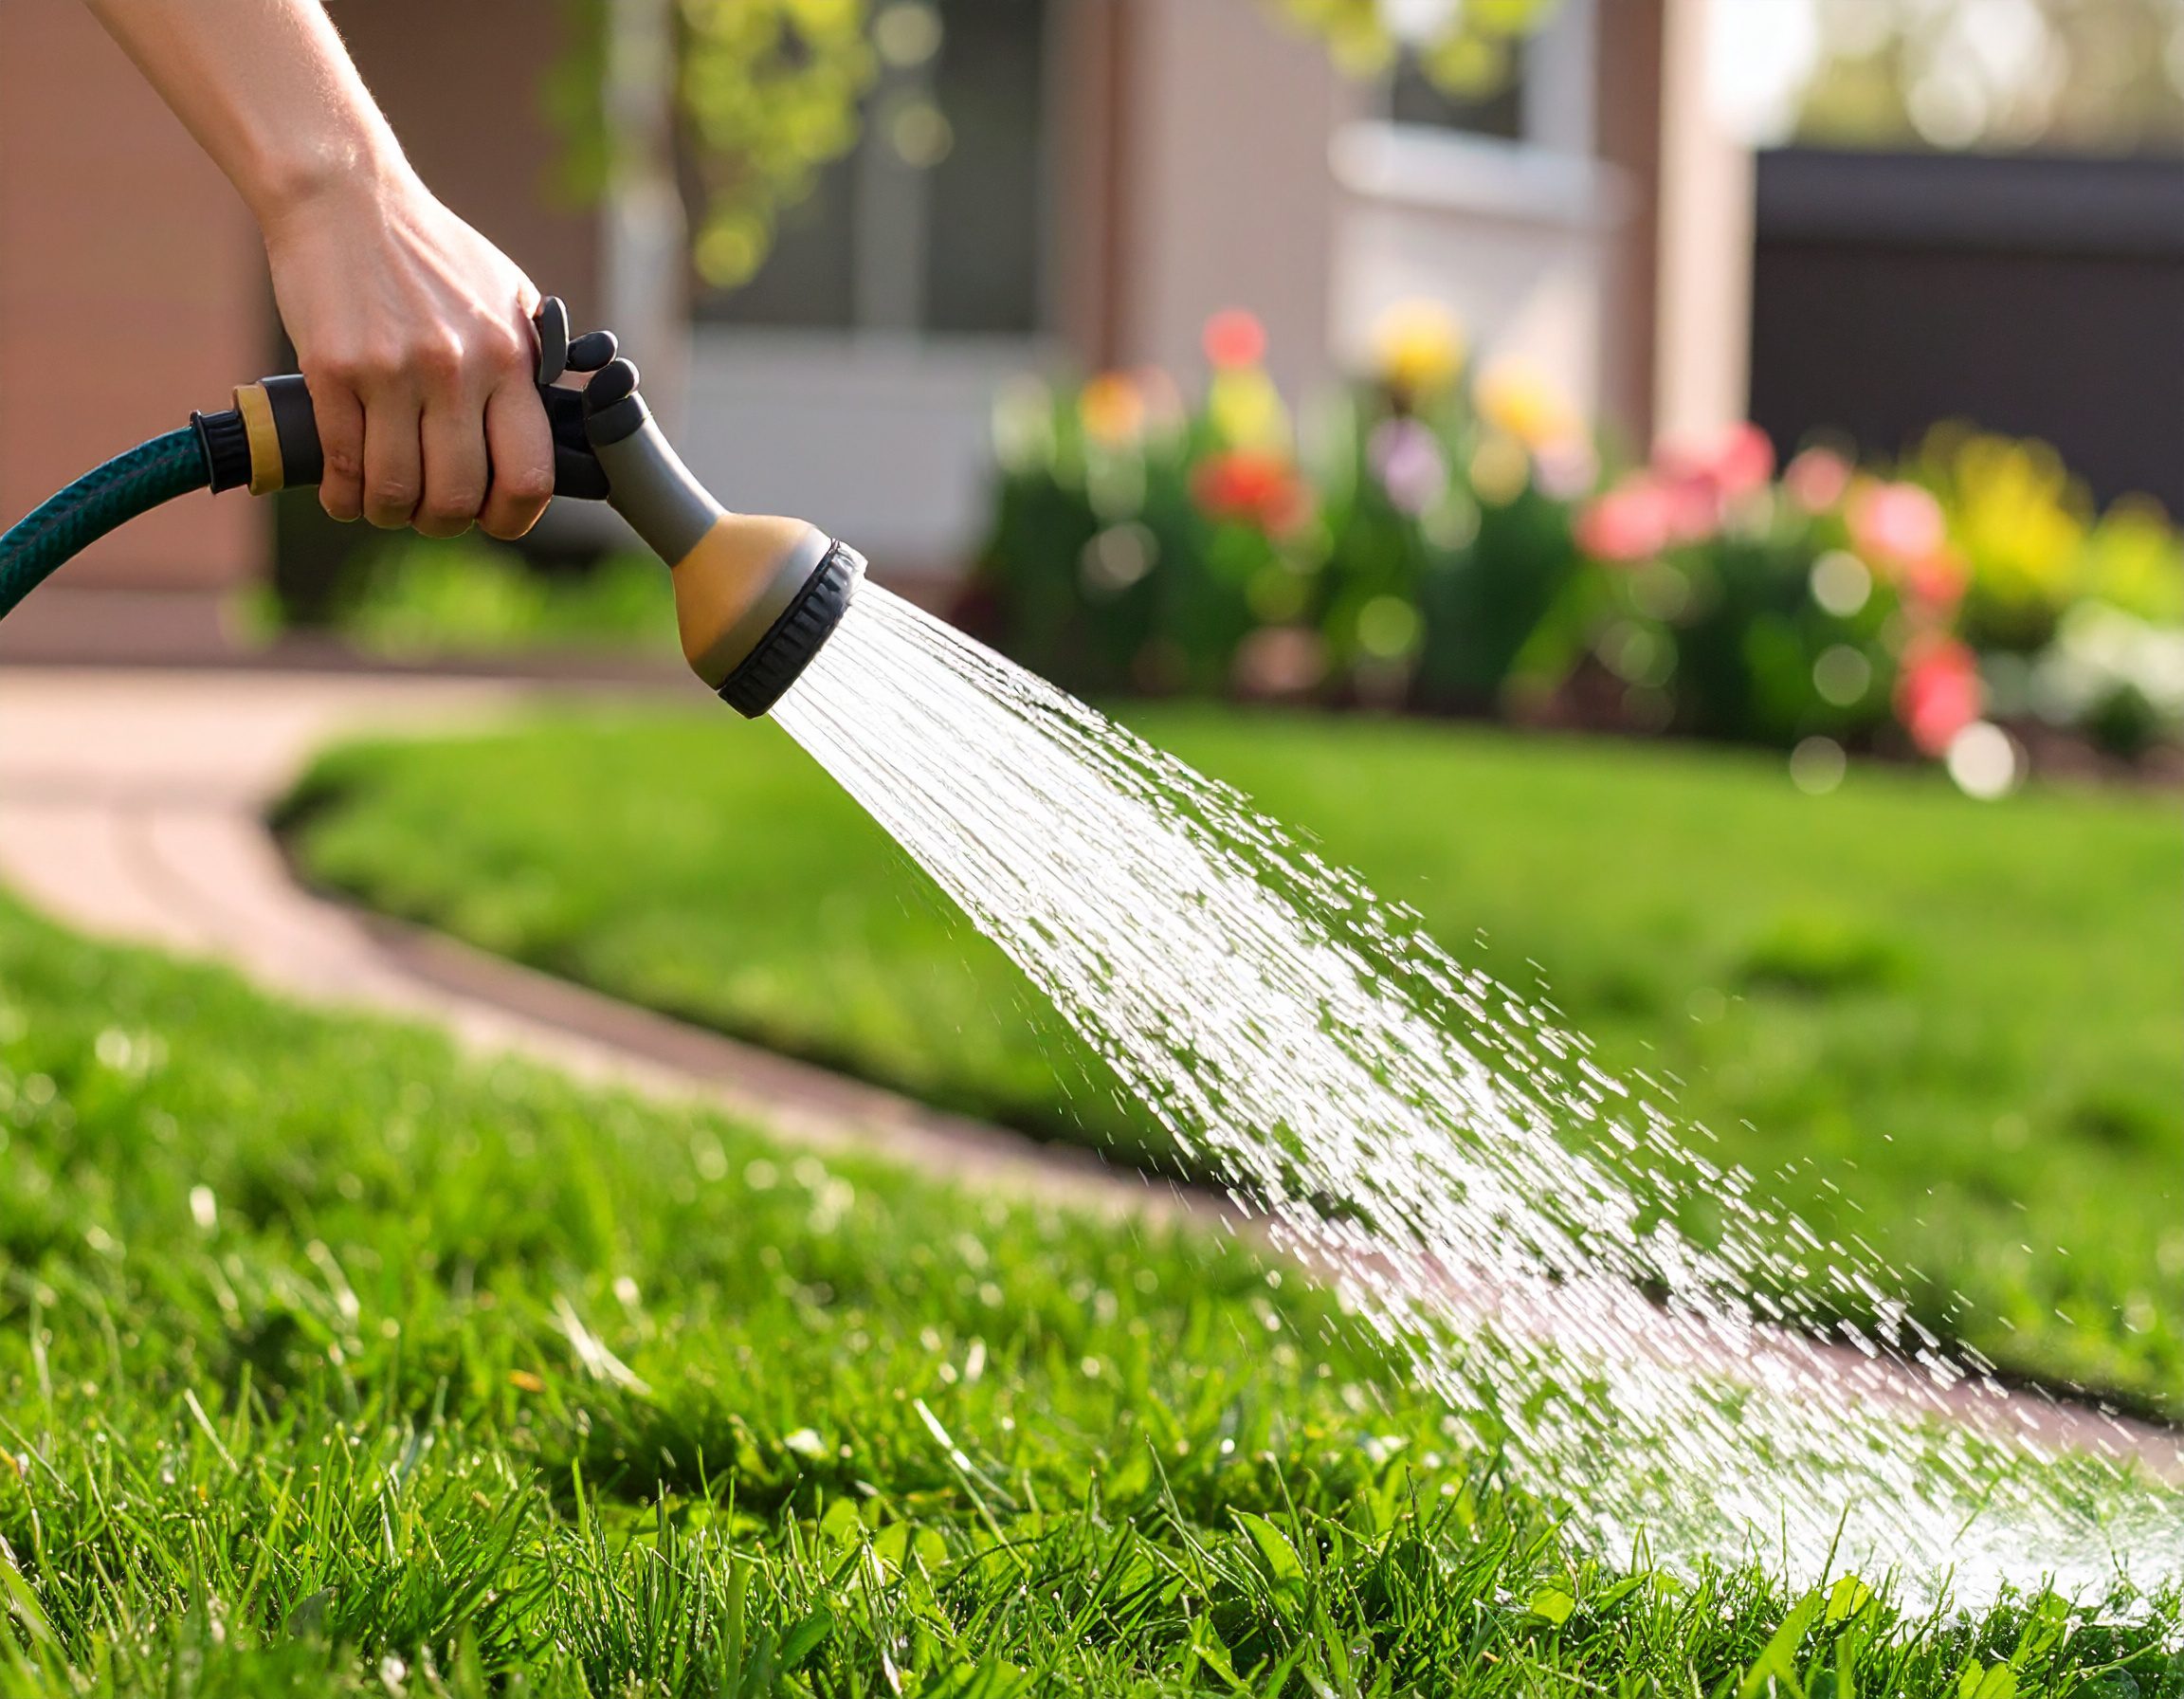
- Garden Hose or Sprinkler – Use these for watering after you are finished.
Before You Get Started
- Wear gardening gloves to prevent blisters if you are using a manual procedure.
- Wear safety glasses to protect yourself from flying dirt clumps and debris.
- If using a power equipment for lawn dethatching, carefully follow the manufacturer’s suggested safety precautions.
How to Dethatch Your Lawn
Step 1 Identify the Need
Check your lawn for signs of excessive thatch.
- Thatch layer thicker than ½ inch
- Spongy feel when walking
- Poor water absorption
- Brown patches or thinning grass
Step 2 Determine if Now is the Best Time
- The best time to dethatch your lawn is while it is actively growing and the soil is moist.
- Dethatch cool-season grasses during early spring or early fall.
- Dethatch warm-season grasses during late spring through early summer, after the second mowing.
Step 3 Prepare Your Lawn for Dethatching
- Mow your lawn to half the normal height. DO NOT fertilize.
- Water your lawn thoroughly 1–2 days before dethatching.
- Remove any debris like sticks or leaves.
- Mark any sprinkler lines or shallow utility lines so they don’t get run over.
Step 4 Choose Your Tool
- Select an appropriate tool based on your lawn size.
- Use a thatching rake for small problem areas or smaller yards.
- For large lawns, consider using a motorized dethatcher.
Step 5 Dethatch Your Lawn
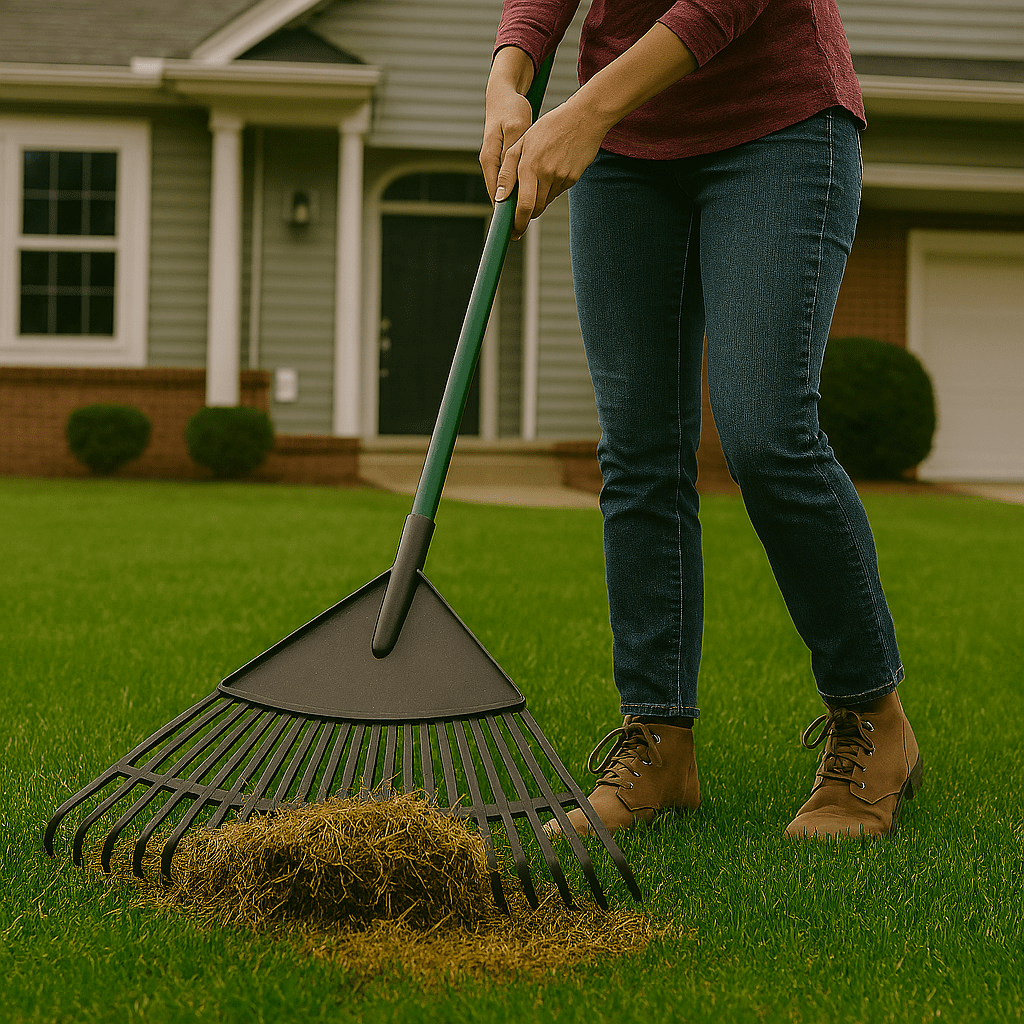
Manual Method: Use a dethatching rake to pull up the thatch for smaller lawns. Dig the tines of the rake into the thatch and lift up, separating the thatch from the soil.
Mechanical Method: For larger lawns, a power dethatcher can help you move faster to cover more ground. Be sure to follow the manufacturer’s suggestions, or ask your local Ace for advice if you are renting the equipment.
Step 6 Post-Dethatching Care
- Use a leaf rake to remove the thatch from your lawn.
- Apply grass seed and fertilizer if overseeding.
- Avoid heavy foot traffic for a few days to allow the lawn to recover.
- Water your lawn regularly every 2-3 days for the next two weeks.
Future Lawn Care
- Your lawn may look ragged after the dethatching process. Mow it again if needed.
- Fill in any remaining bare spots with more seed.
- Water your lawn and apply fertilizer.